
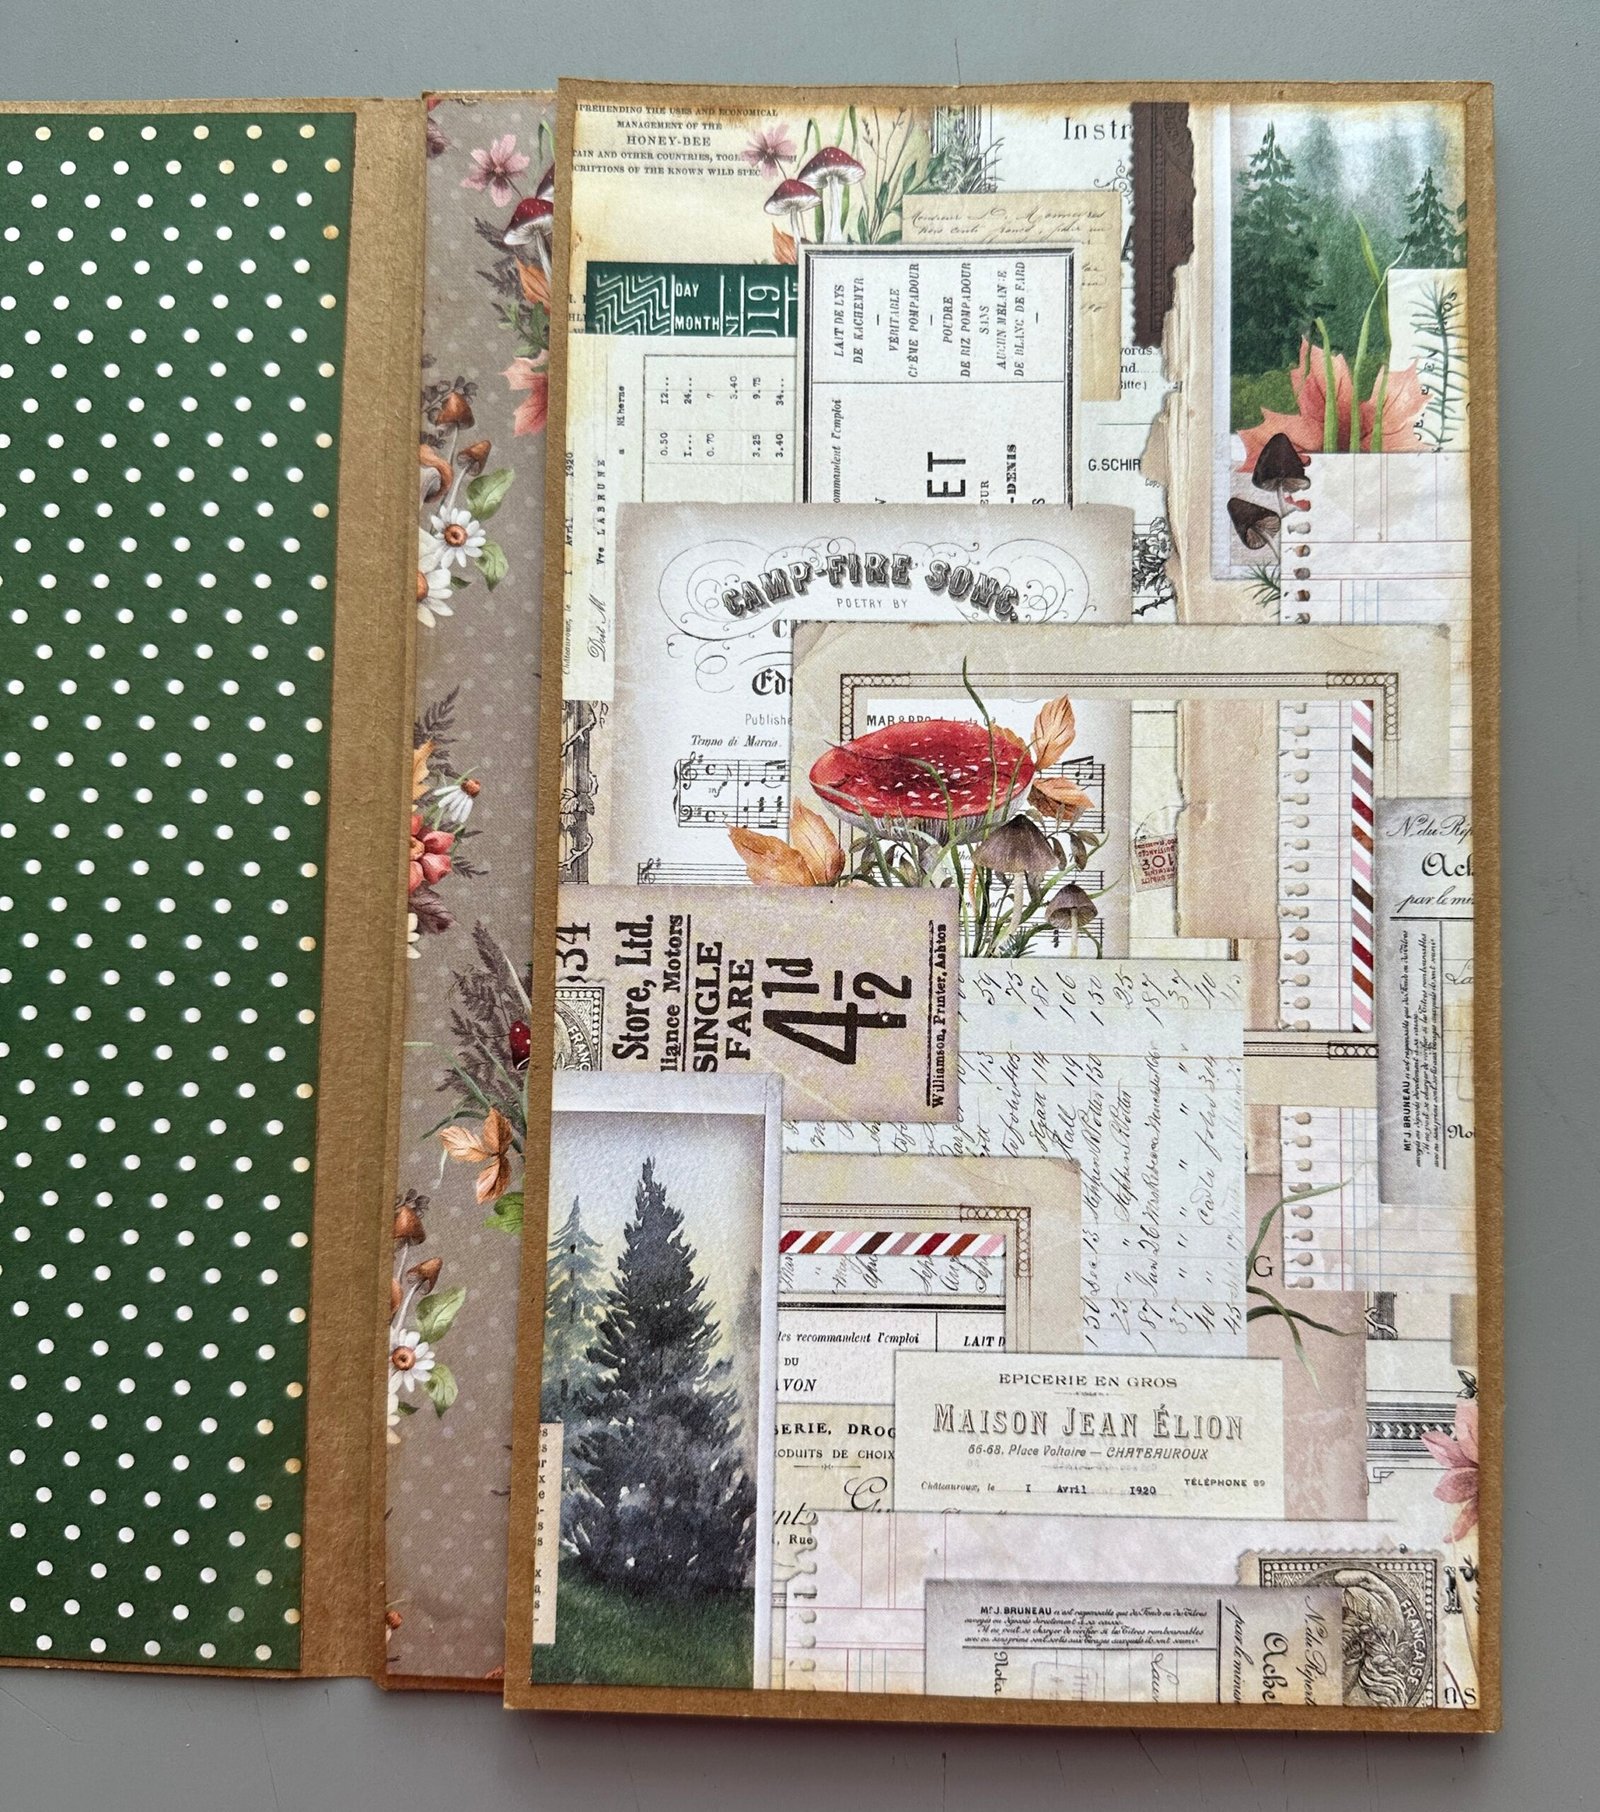
Today we are making something we haven’t made in a long time on our channel, and we are using the AJ June Birthday kit. This kit is all about the woods and woodland creatures and is really beautiful. I am making a Quad-Flip out Folio Journal with two signatures. It has been years since I made a journal like this but I think it is going to come together really easily and I love the papers and little creatures we have to embellish with. I will have a link to the video below as well as all the measurements and score lines as well as pictures of each piece.
I hope you will give this one a try. If you are not into big journals this is exactly what you need. And they make beautiful gifts and they are great for craft fairs. Doesn’t take a lot of supplies at all. You just need a heavy cardstock for the base or you can use the papers in the AJ June kit as the base they are strong enough. I just wanted to have a little bit of kraft color around my papers. If you don’t have an AJ Kit I think we have just a few left in the store. I will link the HERE.
For the base you will need 5 sheets. 1 for the center, 1 for the left, right, top and bottom.
For the center piece cut your page at 6″x9″
Cut the 2 side pieces at 6″x9″ ~ Cut the top and bottom piece at 6″x9 1/2″
On each side piece you will need to score at 1/2″, 5/8″ and 3/4″ on the left piece and 1/2″ on the right piece.
On the top and bottom piece you will need to score at 1/2″ on the top and 1/2″ on the bottom.


Fold and burnish all the score lines. Add scor tape or glue to each small tab after you cut the edges at a slant as shown in photo. Glue the two side pieces to the center, as shown in the vidoe, only going close to the score line on each. Then attach the bottom and top pieces, close to the score line. Now you have the base to your flip out folio.
If you used cardstock like I did you will need to cut pieces to cover them. If you used you paper collection then you are ready to embellish, add pockets, tags etc. Which we will do tomorrow or Thursday.
These are the pieces of paper you will need to cut to cover the cardstock. For the center 1 piece cut at 5 7/8″x8 7/8″. For the inside of the sides 2 pieces cut at 5″x8 7/8″, for the top and bottom flaps you will need 4 pieces cut at 5 7/8″x8 7/8″. For the outside of the side pieces you will need 2 pieces cut at 5″x8 3/4″. And all the left overs you have we will be making tags and pockets so keep all pieces.


I do believe this is all the measurements for today. If you have any questions please leave them in the comments of this post, not under the video on YouTube. I will find them much quicker here.
Also you can make this with your own papers if you wish, you don’t have to have the AJ kit.
Thanks for watching, E

How do you put the signatures in this flip folio journal? You said it was a 2 signature journal, I am not sure how to put it in. I didn’t see an example.. it was fun putting it together, but I am stuck . Thank you very much.
I will be demonstrating that on a video this weekend. Thanks, E