
Hello sweet followers, we are now getting into part two of our Canva Handbook. This will guide you through many aspects of using your Canva. If you have not yet see Part One, you can click on the link below. All of these Canva classes will go into one category here on our blog for easy access. You are welcome to print them off and put together a handbook of your own. For Canva Part One Click HERE.
Don’t have Canva? Sign up today, there is a free version that I worked with for years. You will still have access to tons of the tools listed below.
Don’t forget to scroll all the way to the bottom for you “Friday” freebie on Saturday. Blessings, E
Canva Intermediate Skills: Leveling Up Your Design Game (Part Two)
If you’ve already explored the Canva basics and created your first designs, you’re ready for the fun part — moving into Canva’s intermediate tools. These features give you more control, cleaner layouts, and a more professional look in everything you create.
This guide builds directly on Part One and walks you step-by-step through the tools beginners usually skip but eventually need to master.
Step 1: Mastering Layers (Yes, Canva Has Them!)
When you stack text, photos, shapes, and graphics on top of each other, Canva organizes them in layers.
This is how you keep things from getting buried or stuck behind other elements.
🔹 How to Manage Layers
- Select any element on your canvas
- Click Position in the top toolbar
- Choose Forward, Backward, To Front, or To Back
🔹 Using the Layers Panel
Canva recently added a true layers panel for multi-object projects.
To open it:
- Look at the bottom right → click Layers
Here you can:
- Rename layers
- Drag items up/down
- Hide elements
- Lock items in place
✨ Tip: Rename layers (like “Background Texture” or “Main Heading”) if you’re working on journal pages or multi-page projects. It keeps things neat.
Step 2: Grouping, Locking & Aligning (Your Best Friends in Canva)
🔹 Grouping
If you’ve ever tried to move two things and one stayed behind… grouping solves that.
- Select multiple elements
- Press CMD + G (Mac) or CTRL + G (Windows)
Now they move as one.
🔹 Locking
Prevents accidental edits.
- Click an element
- Press the Lock icon in the top-right of the toolbar
Great for:
- Background images
- Borders
- Lines
- Anything you don’t want shifting
🔹 Alignment Tools
Make your layout instantly look polished.
Select multiple elements → click Position → choose:
- Center
- Middle
- Left / Right
- Top / Bottom
- Tidy Up (evenly spaces everything!)
Step 3: Working With Frames & Grids
Frames and grids save you HOURS when creating:
- Journals
- Mockups
- Templates
- Thumbnails
- Photo-based designs
🔹 Frames
These are drag-and-drop photo holders.
To find them:
- Go to Elements
- Type “frames” in the search bar
Drop any photo in → it snaps perfectly into shape.
Great for:
- Polaroid looks
- Circles for profile pics
- Device mockups
- Creative journal layouts
🔹 Grids
Grids let you create clean, consistent layouts.
To use:
- Elements → search “grids”
- Pick a layout
- Drag in photos or backgrounds
✨ Tip: Grids help make “collage style” pages that look intentionally designed instead of random.
Step 4: Using Background Remover (Pro)
One of Canva’s BEST tools.
🔹 How to remove a background:
- Select a photo
- Click Edit Photo
- Choose Background Remover
- Use the Restore / Erase brush for touch-ups
Uses:
- Cutting out people or objects
- Creating fussy-cut style pieces
- Making clipart from real images
- Cleaning up messy backgrounds
Step 5: Advanced Text Editing
You know how to add text — now let’s make it beautiful.
🔹 Effects Menu
Select text → Effects
Options:
- Shadow
- Curve
- Lift
- Neon
- Outline
- Background highlights
- Hollow text
🔹 Spacing
Change:
- Letter spacing
- Line height
This is essential for:
- Journal headers
- Titles
- Elegant typography
🔹 Duotone & Filters (for text and images)
Go to Edit Photo → Duotone
Perfect for matching your brand colors.
Step 6: Magic Resize (Pro)
This is where Canva gets powerful.
What it does:
Takes one design and automatically converts it into:
- Pinterest Pin
- Instagram Reel
- Landscape image
- Poster
- YouTube thumbnail
- Etsy listing photo
- Flyer
- Facebook banner
No rebuilding from scratch.
How to use it:
- Click Resize
- Choose new sizes
- Click Copy & Resize
Step 7: Creating & Saving Templates
If you plan to sell templates or reuse designs:
How to save any design as a template:
- Open your project
- Click Share
- Choose Template Link
Anyone using the link gets a fresh copy.
Use this for:
- Journals
- Ephemera sheets
- Printable kits
- Worksheets
- Social media templates
Step 8: Using Custom Color Palettes
You can save your brand colors (like your teal #159D9B 💙).
How to create or edit a palette:
- Left menu → Brand Hub
- Scroll to Brand Colors
- Add hex codes
- Name your palette
Then when designing, your brand colors appear at the top of the color picker.
Step 9: Uploading Fonts (Pro)
If you buy fonts or have special branding fonts:
How to upload:
- Brand Hub
- Brand Fonts
- Upload .TTF or .OTF files
Use this for:
- Digital kits
- Etsy branding
- Logos
- Journals
- Social media graphics
Step 10: File Organization for Sanity
Canva gets messy FAST.
Create folders for:
- Journals
- Ephemera
- Mockups
- Social posts
- Branding
- YouTube thumbnails
- Templates
- Design Team assets
Then drag projects into their appropriate folder.
Final Wrap-Up
You’re now officially past the beginner stage and stepping into “I can actually make gorgeous stuff on purpose” territory. These intermediate tools are the foundation of every good Canva designer — and the stepping stone to Part Three: the advanced pro-level techniques.
Next up, we’ll cover:
- Using AI tools
- Magic Studio
- Complex mockups
- Batch creation
- Selling templates
- Animated designs
- Video editing
- Using Canva with Etsy, Printify, and business workflows
Your complete Canva handbook is on its way, one chapter at a time.
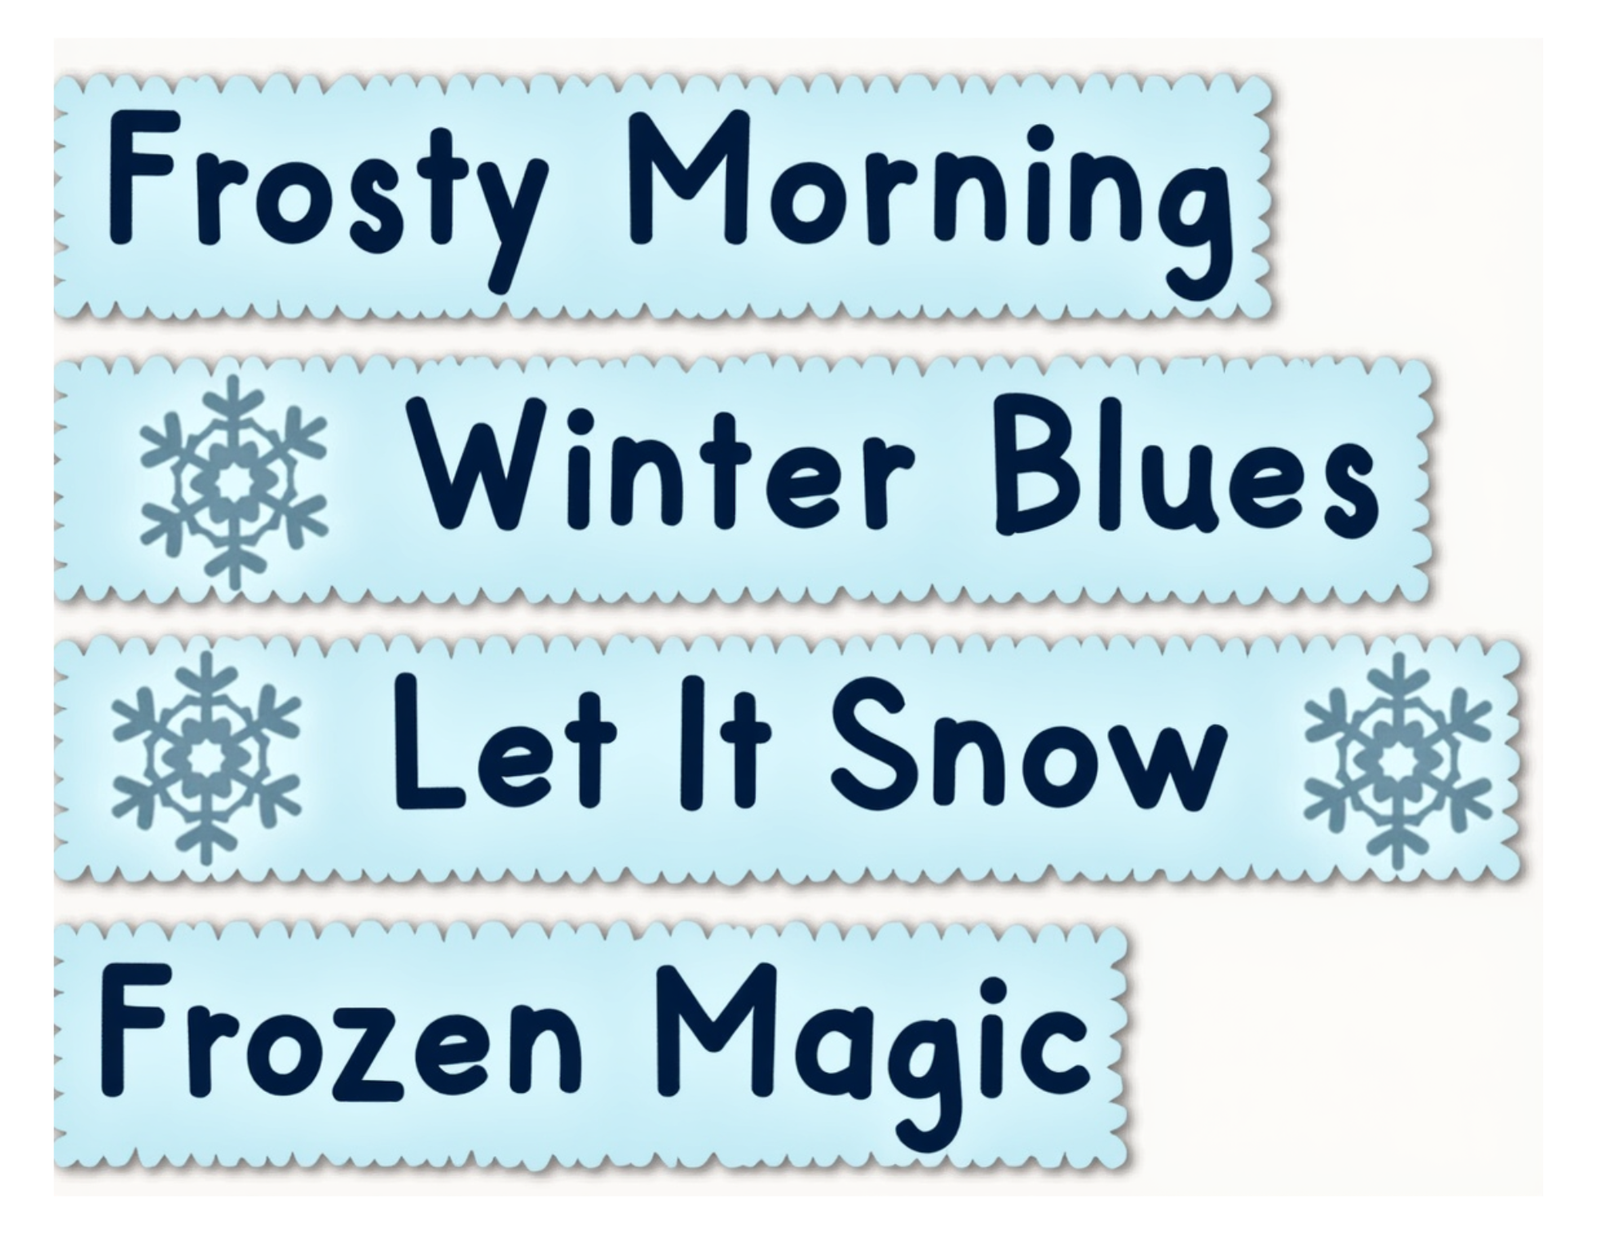
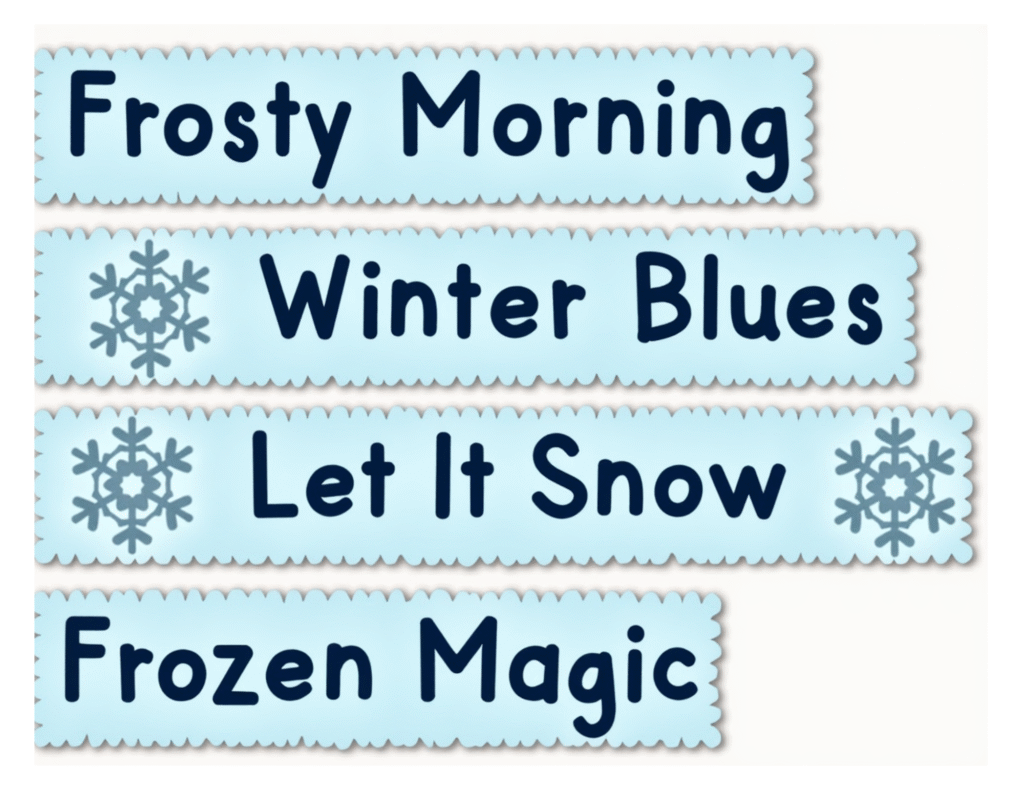
Your Friday Freebie on Saturday. So sorry I’m running late, hope you enjoy this one.
This is part of a new collection called Winter Blues by Tara, designed by a member of our design team Tara. I think she did a great job. The full collection will be up and available to purchase soon in both stores. You will receive 5 full pages of ephemera.
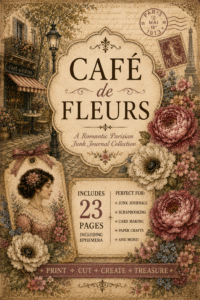
And don’t forget right now through the Holidays we are having another sale on our Etsy. Everything is the store is 25% off and no code necessary. Shop today and save!
Etsy Store: https://scrapbookingwithme.etsy.com
Online Store: https://scrapbookingwithme.etsy.com

Thank you! I am loving Canva.
very nice, thanks so much. Looking forward to checking out canva, ty
Thank you so much Ms E. I hope you get to feeling better!